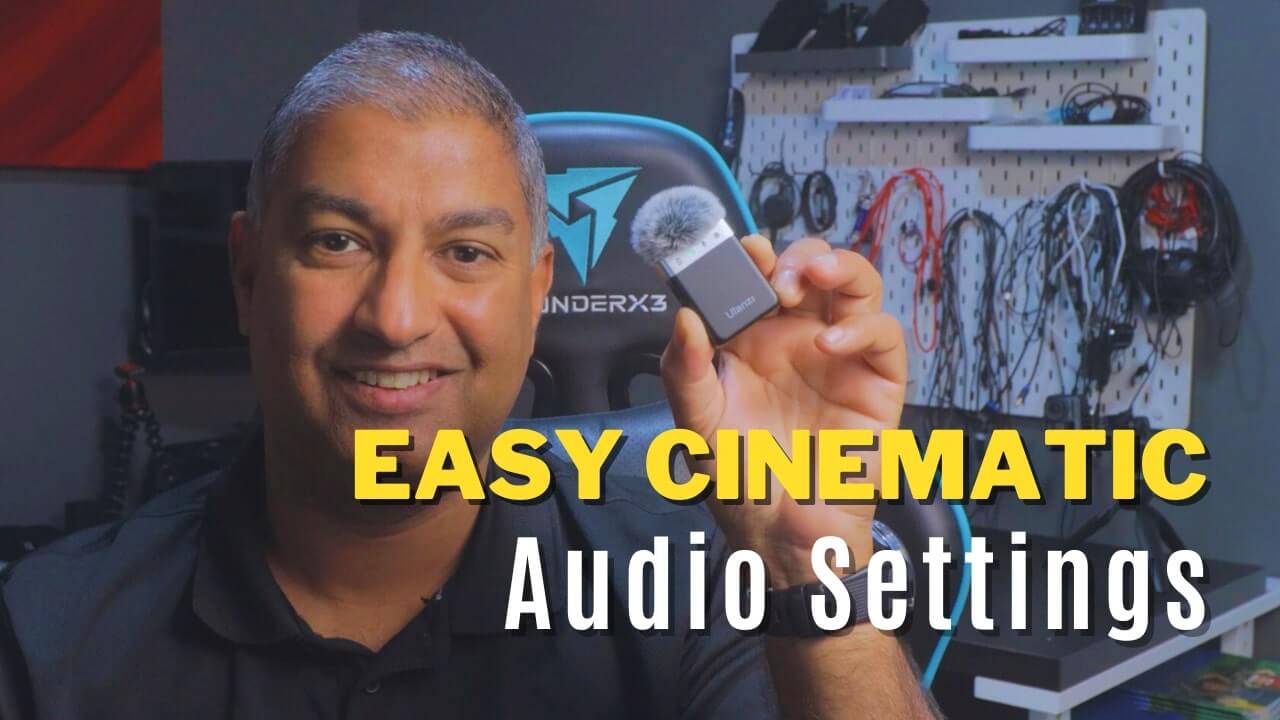
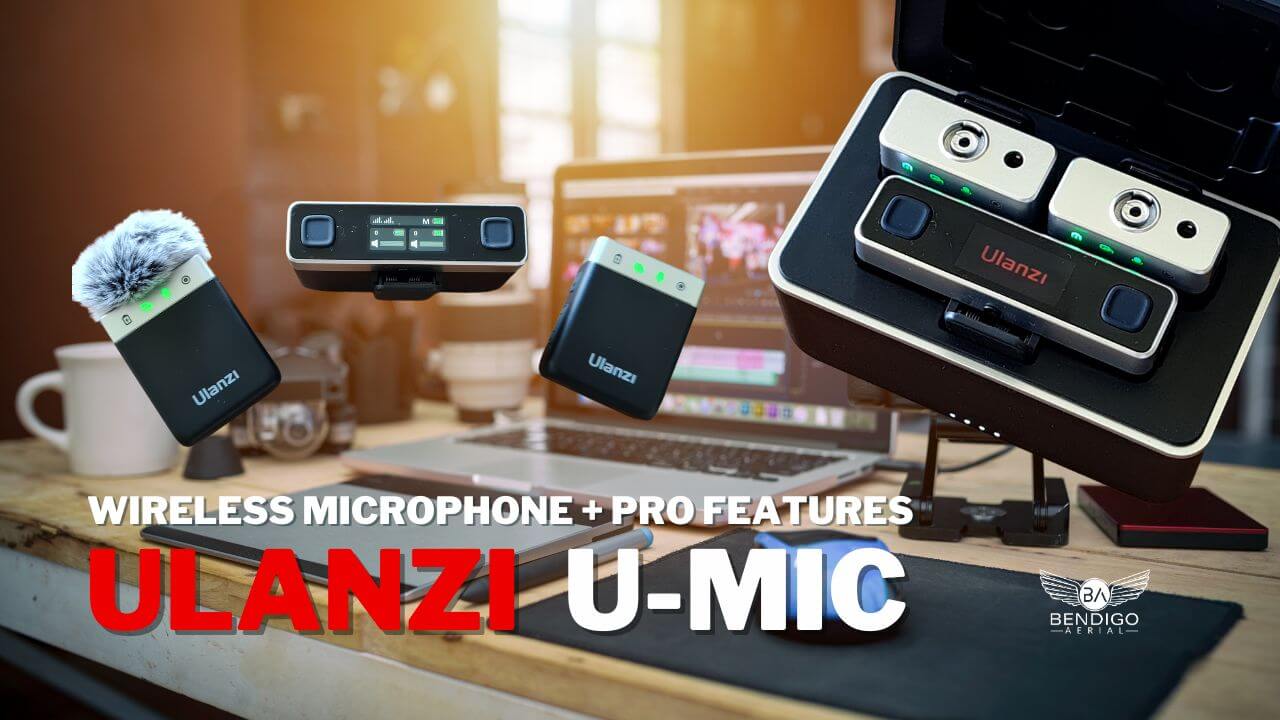
A common question is how I make my voice sound cinematic in Adobe Premier Pro. I love using the Ulanzi U-MIC AM18 wireless microphones. This was one of the frequent questions I received while using these microphones.
I’m excited to share with you my simple tricks for enhancing vocals and making them sound cinematic in Adobe Premiere Pro. As someone who’s not a sound engineer but loves creating videos, I’ve discovered a few default audio settings and techniques that work. In this blog post, I’ll walk you through my process step by step so you can try it out for yourself. No plugins or add-ons are needed.
Watch this Video on YouTube – Please Like, Share and Subscribe
Default Audio Settings and Tricks
When it comes to making vocals pop in Premiere Pro, my go-to settings involve a few key steps. First, I head to the Audio Tab and select all the vocal clips. Then, I choose Dialogue and opt for Auto-Match in the Loudness tab. I then open the Audio Track Mixer to apply my default presets.
I add the Parametric Equaliser X 2, followed by the Amplify Effect, a Single-band Compressor and the DeEsser.
How I make my voice sound cinematic
These are my settings for each effect added. In the first Parametric Equaliser, I select “Vocal Enhancer” from the preset menu. In the second Parametric Equaliser, I adjust the number “3” to a range between 65 and 75 and move “H” to around -30 on the 10K line. For the Amplify Effect, I choose a +3 dB Boost from the menu, adjusting based on the microphone used. The Single-band Compressor preset “Voice thickener” is applied with careful attention to the Output gain slider. Prevent peaking in the red by keeping it to -3 dB and -6dB. Setting the DeEsser threshold to -40 dB adds the final touch.
Limitations with the Audio Track Mixer in Premier Pro
Despite Premiere Pro’s limitation of allowing only five effects in the Audio Mixer, the workaround is to add Sub Mix Track to add further sound effects. I add the Denoise effect to the Sub Mix Track. This additional track enables me to apply the “Light Noise Reduction” preset, tailored to my Ulanzi Wireless Mic at 4% noise reduction. By referencing the Submix track on other clips needing Denoise, I maintain consistency in audio quality throughout my projects.
Making your voice sound cinematic is EASY!
These techniques transformed my vocal recordings, giving them a cinematic quality that lifted the overall video production. Although Premiere Pro doesn’t currently support saving presets directly from the Audio Mixer, creating a template sequence to store settings enables easy replication in future projects. I hope this information helps and answers your question “How I Make MY VOICE Sound CINEMATIC in Premiere Pro”.
If you found this information helpful, feel free to like, subscribe, and share your thoughts.


Leave A Comment